Step 1. Creating an integration project
-
Open SmartMarket Studio .
-
Select the space in which you will create the project: in the upper left corner, click on the name of the current workspace and change it to the desired one.
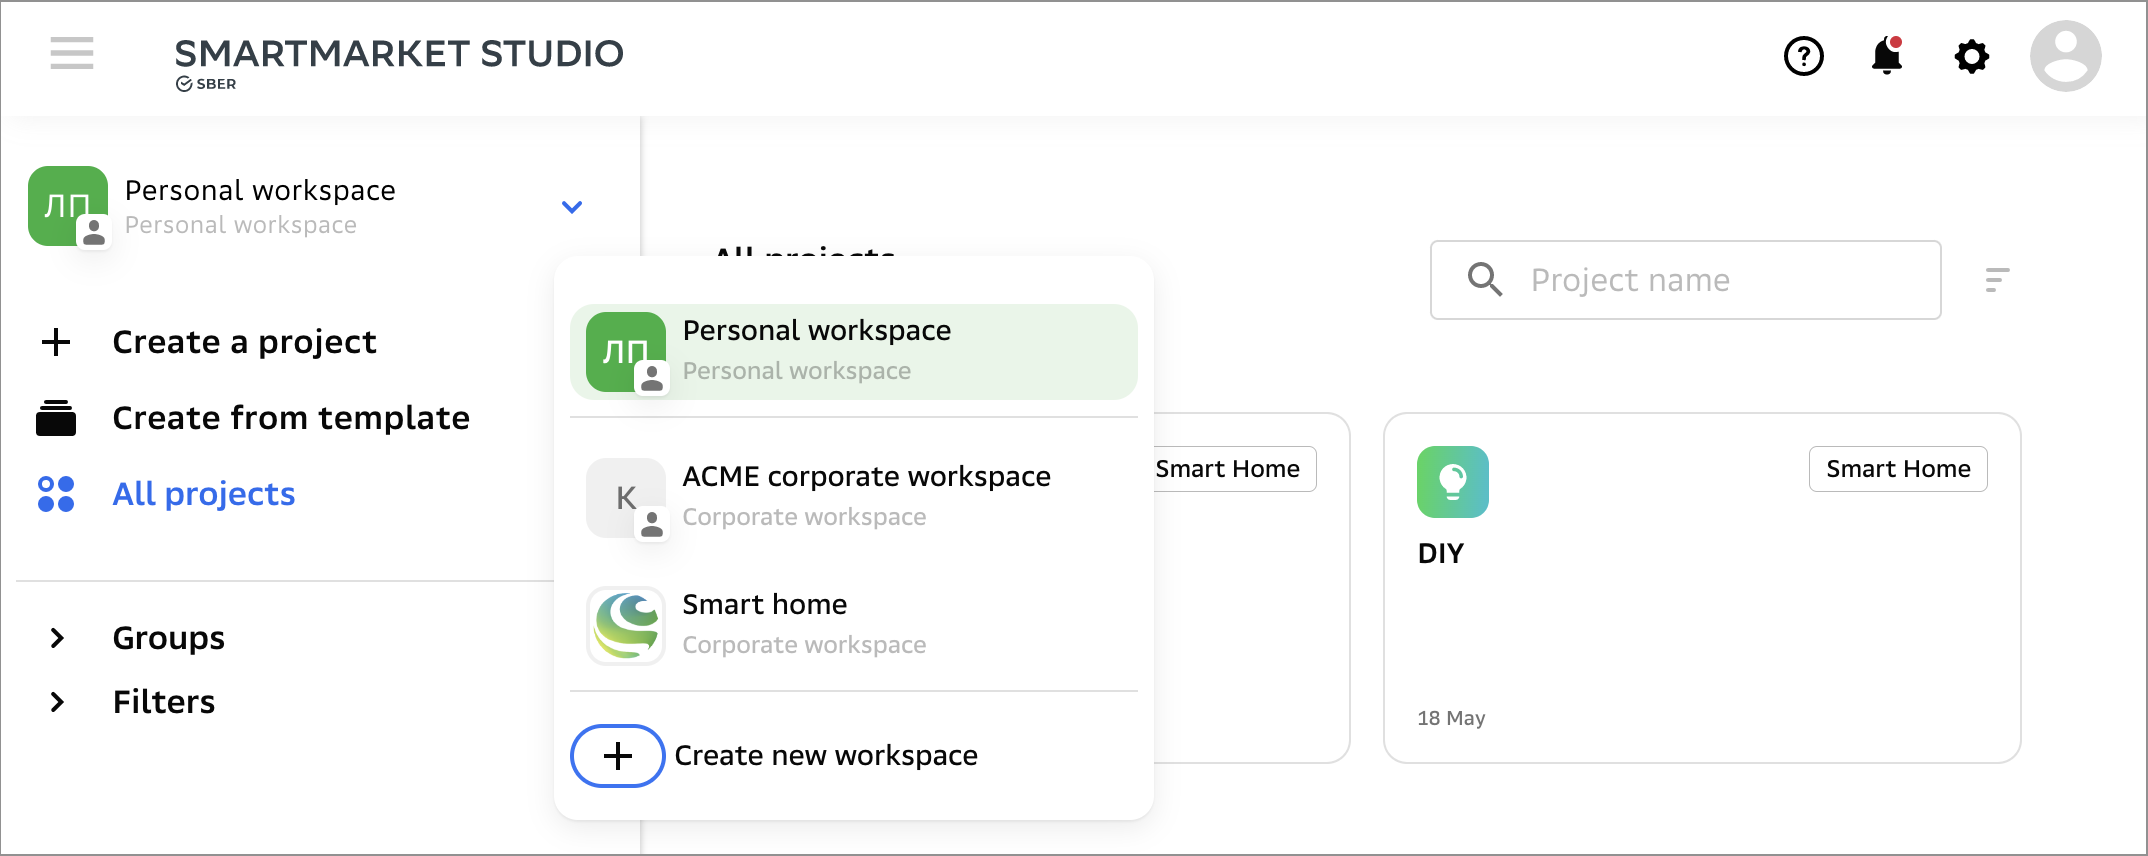
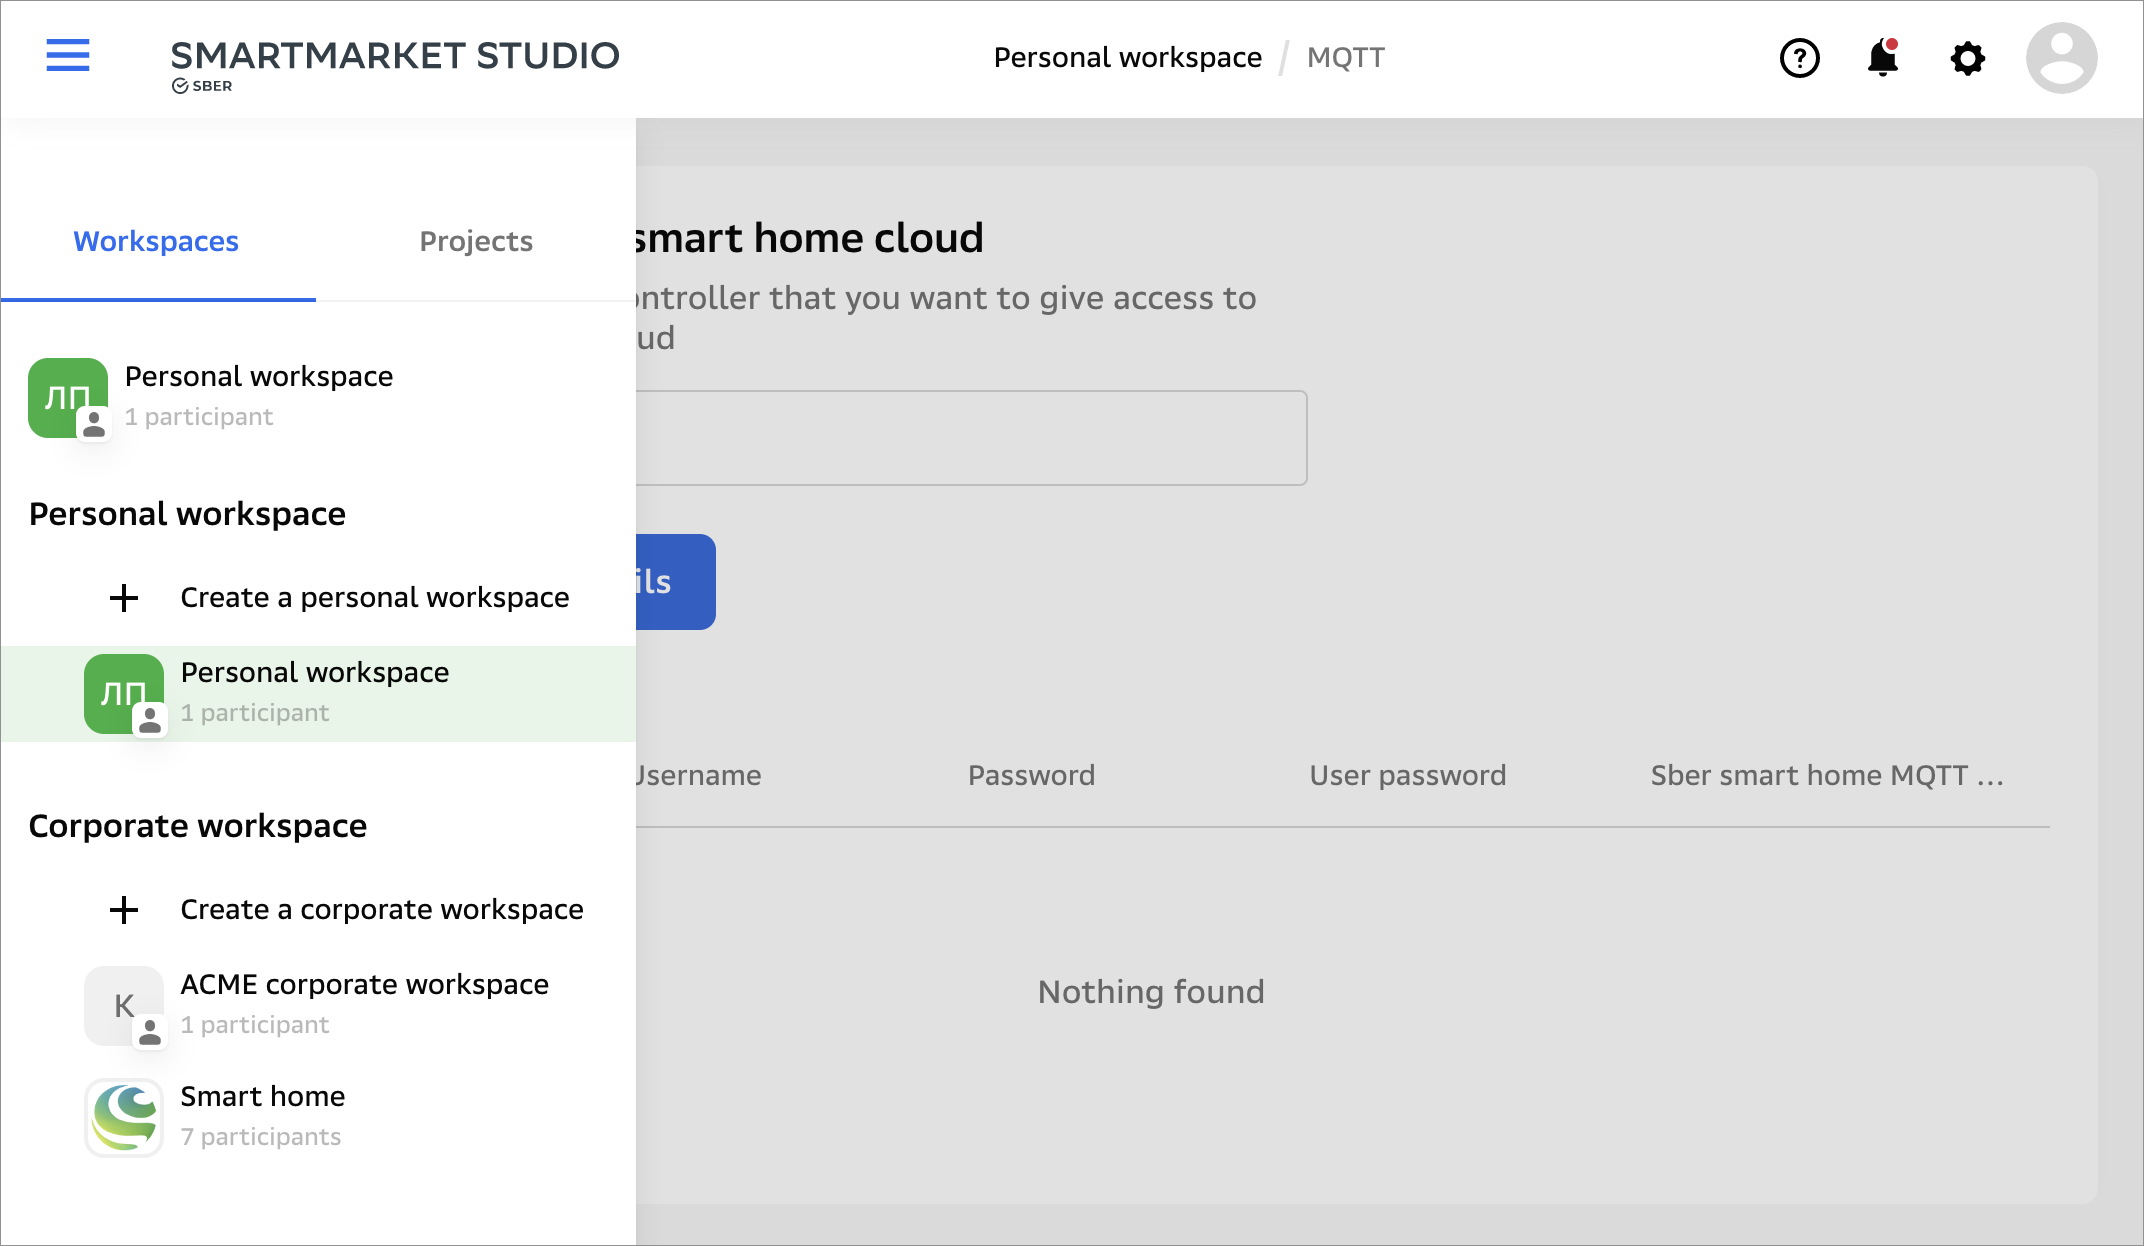
If you are on a page of a project inside a workspace, the workspace change is performed differently: click the
in the upper-left corner and go to the tab Workspaces.
-
On the workspace page, click Create a project – it is located immediately under the name of the workspace. Then scroll down the screen and select Smart Home.
-
Name your project – this name will be used only in SmartMarket Studio. Then select the integration type: Cloud-to-Cloud.
-
Fill in the information about your company on the About project tab: brand name, logo and links to your app in the App Store and Google Play. If your app is in the App Gallery store, you can give a link there as well (this is optional).
Links will be displayed in the Salute application during linking accounts: if the user does not have your application on his phone, he will download it from this link and complete the linking.
-
On the Settings tab, indicate the endpoints, tokens and restrictions for authorization via OAuth2 and calls to your webhook:
- Settings transfer type – select how you will pass the user key and access token: in parameters or in query header.
- Project API server URL – enter the webhook URL. Sber Smart Home will use it to send queries.
Note that the Sber Smart Home inserts the request address into the path the URL you specified and does not add the address to the end of the URL. For example, if you specify an address with parameter
https://vendor_url/?q=as webhook URL, the user information request will be sent to URLhttps://vendor_url/v1/user?q=, not to URLhttps://vendor_url/?q=v1/user.- Authorization URL – indicate the address of your authorization form. It will be demonstrated to the user in the process of account linking.
- URL to get token, Client ID, Client secret – Sber Smart Home will use this data to obtain the user access token.
- OAuth2 Scopes – list the user account fields in your database that Sber Smart Home will be allowed to access. If OAuth access is granted without restriction and Smart Home will have access to all account data, it will not be necessary to list fields.
-
If you are going to implement methods enabling queries to Smart Home API, generate and copy a token on the Access to API tab. This will need to be indicated in the header of all queries, in the
Authorizationfield. -
Press the button Save – a draft of the project will be created.
The entered data can be corrected until the project has passed moderation. After successful moderation and publication, the project can also be changed, but after that you will need to submit the project for moderation again.